This article describes the process of using Scan2Stage.
You can follow the steps for staging and provisioning the devices. If you want to know the step detail, please click the button linked with the articles about the topic.
APPLIES TO
Scan2Stage v.10.0.3 and above
1. Start to create or Load JSON Script File
| 1.New
|
2. Load JSON file
| |
3. Save/Save as
| |
4. Load devinfo.html
|

2. Set the Script
| 1.Schedule
|
2. GMSPackageManager
| |
3. OS Update
| |
4. Device Setting
→ In order to apply the device & Scanner settings, you must install EmKitAgent | |
5. Scanner Setting
→ In order to apply the device & Scanner settings, you must install EmKitAgent | |
6. EmSolution
|

3. Save as JSON File
- Tap File > Save/Save As to save the script values
4. Generate QRCode
- Tap QRcode generator > Scan2Stage QRcode in Scan2Stage console
- Input the network information in Network Setup

- Input URLs of EmInstaller APK, Configuration File and Target JSON file
| EmInstaller APK
|
Configuration File
| |
Target JSON filename
| |
Screen timeout
|

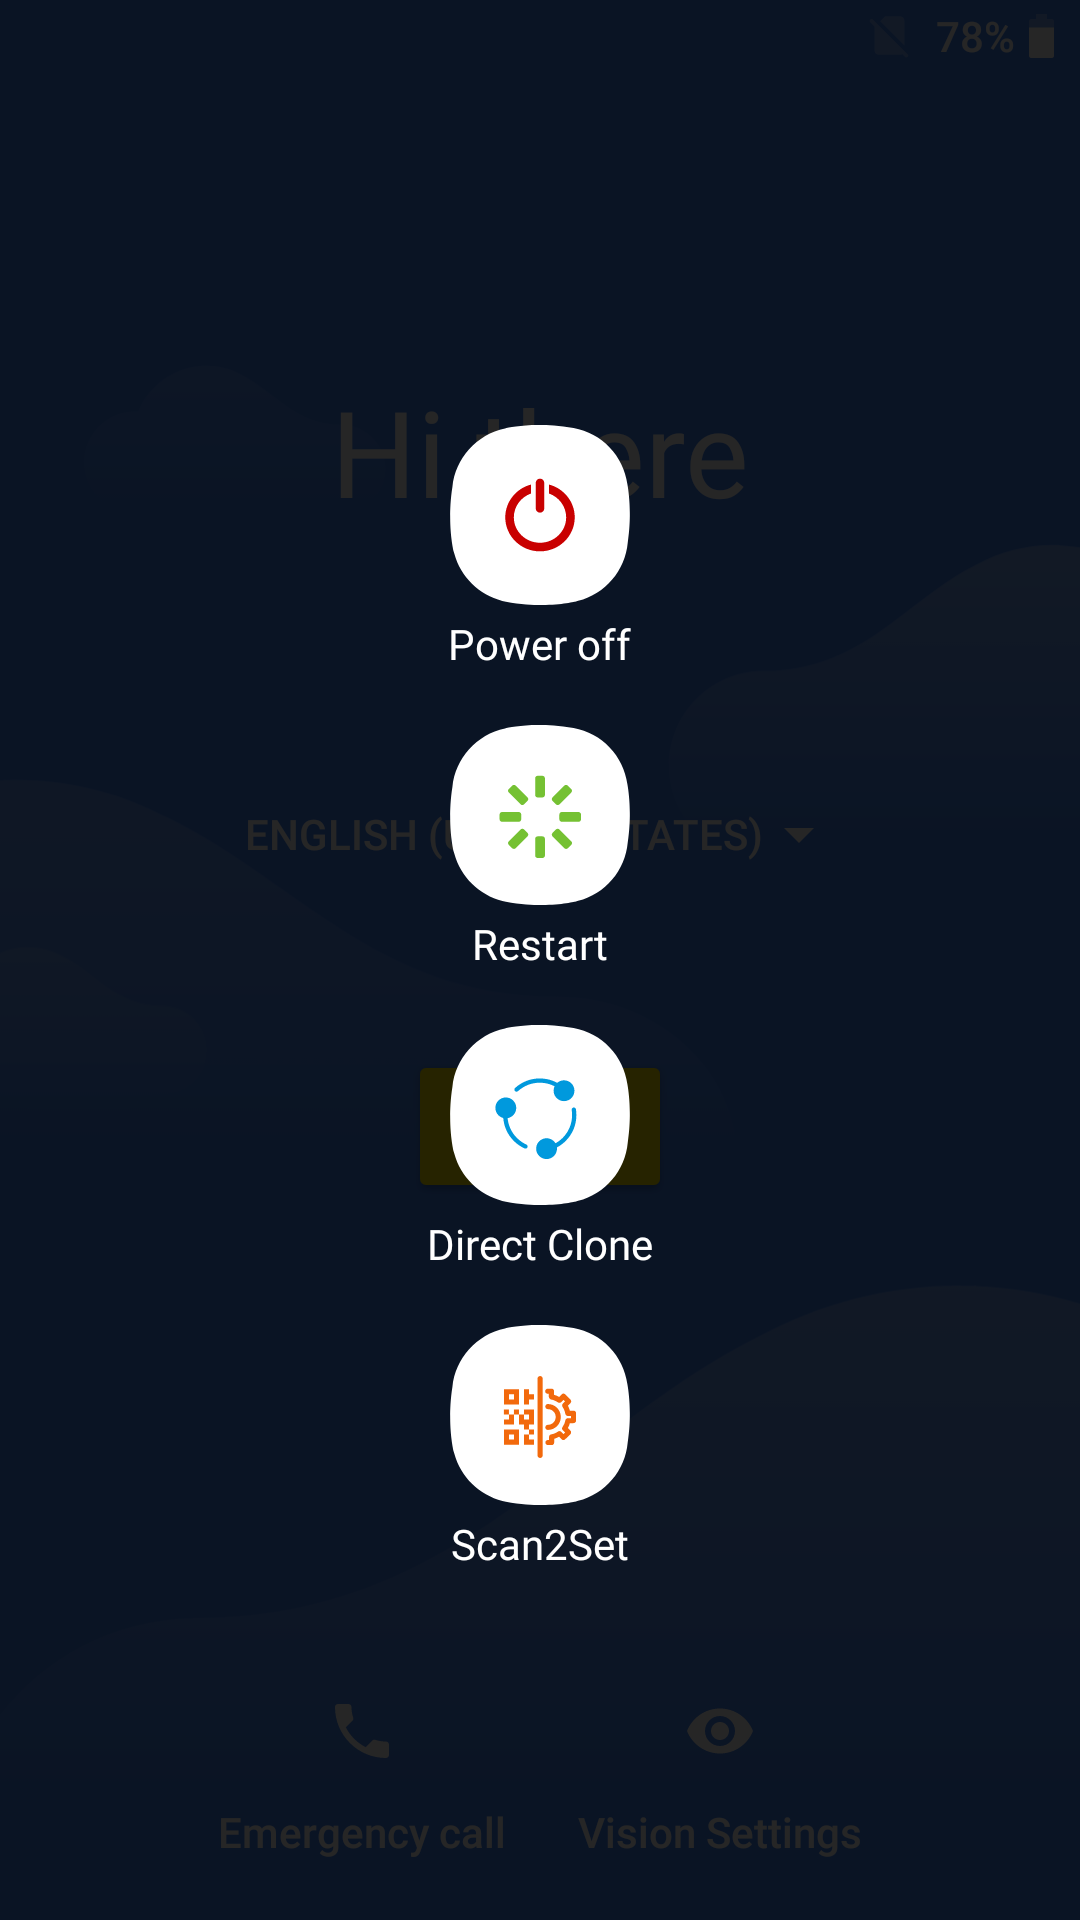
5. Scan the QRCode
- Press and hold Power button until the power menu show up
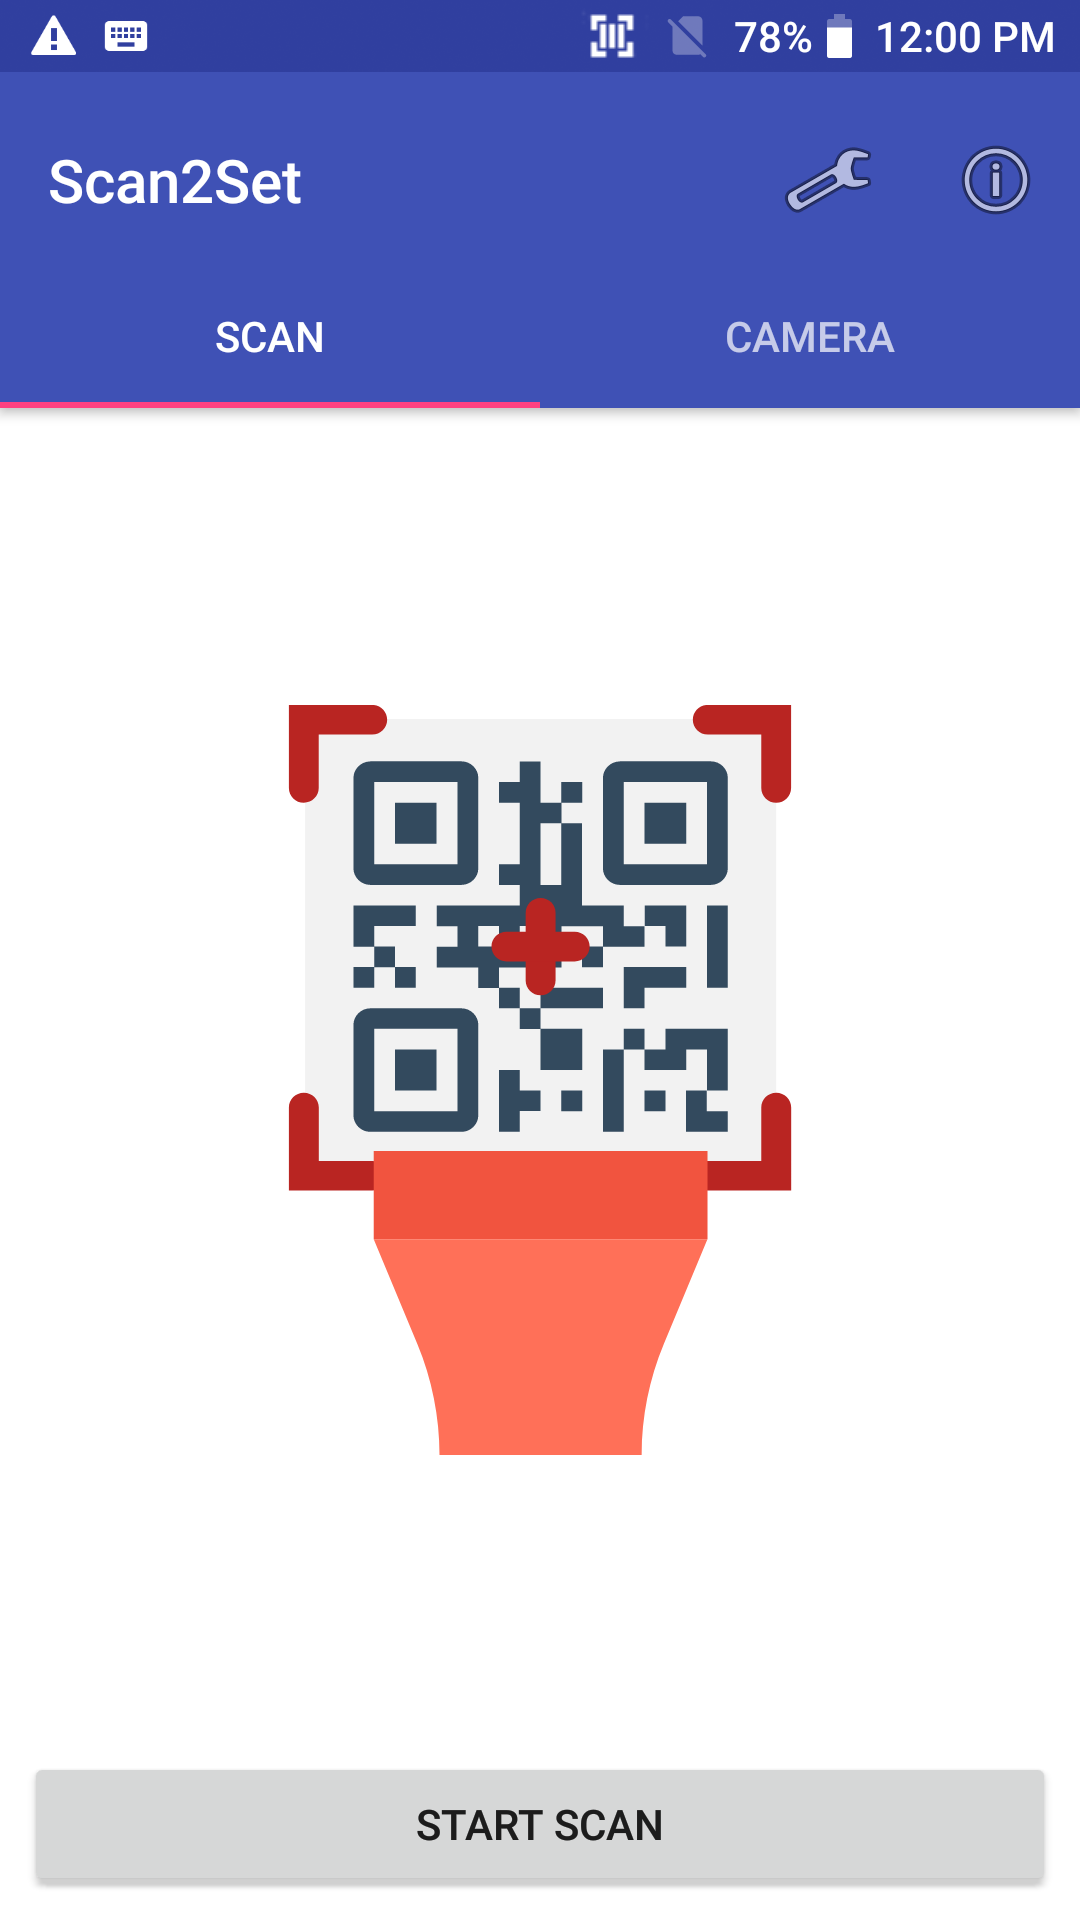
- Select Scan2Set and Scan the QRcode
Scanner will be enabled automatically when you execute the Scan2Set