This article describes the process of using Scan2Stage.
You can create a profile as JSON format, and provision your devices with the profile.

1. Creating a Profile
1) Launch Scan2Stage and determine the configurations as you want.
2) Save as JSON file and Upload the JSON file to web-based server (ex.Dropbox)
2. Provisioning Devices with JSON
Determine provisioning method among QR Code, Automatic Provisioning, PMDM.
APPLIES TO
Scan2Stage v20.0.0 and above
1. Make Configurations
| Configuration | Description |
|---|---|
| Task |
|
| Kiosk |
|
| Device |
|
| Scanner |
|
| RingControl |
|
| WedgeProfile |
|
| GmsPackage |
|
| OsUpdate |
|
| BatteryMonitor |
|
2. Save as JSON File and Upload
- Tap File > Save/Save As to save the configurations (JSON file)
- Upload the JSON file and PMDMAgent (EmInstaller) to web-based server (ex. Dropbox)
3. Generate QRCode
- Click Generating QR Code on the upper-right side of the Scan2Stage console.

- Enter the information for provisioning process.CA File Information (Optional)

Certificate information to be used for connecting Wi-Fi.
Optional: If the network security type not requires CA certificate information, no need to input.
Network Settings (Optional)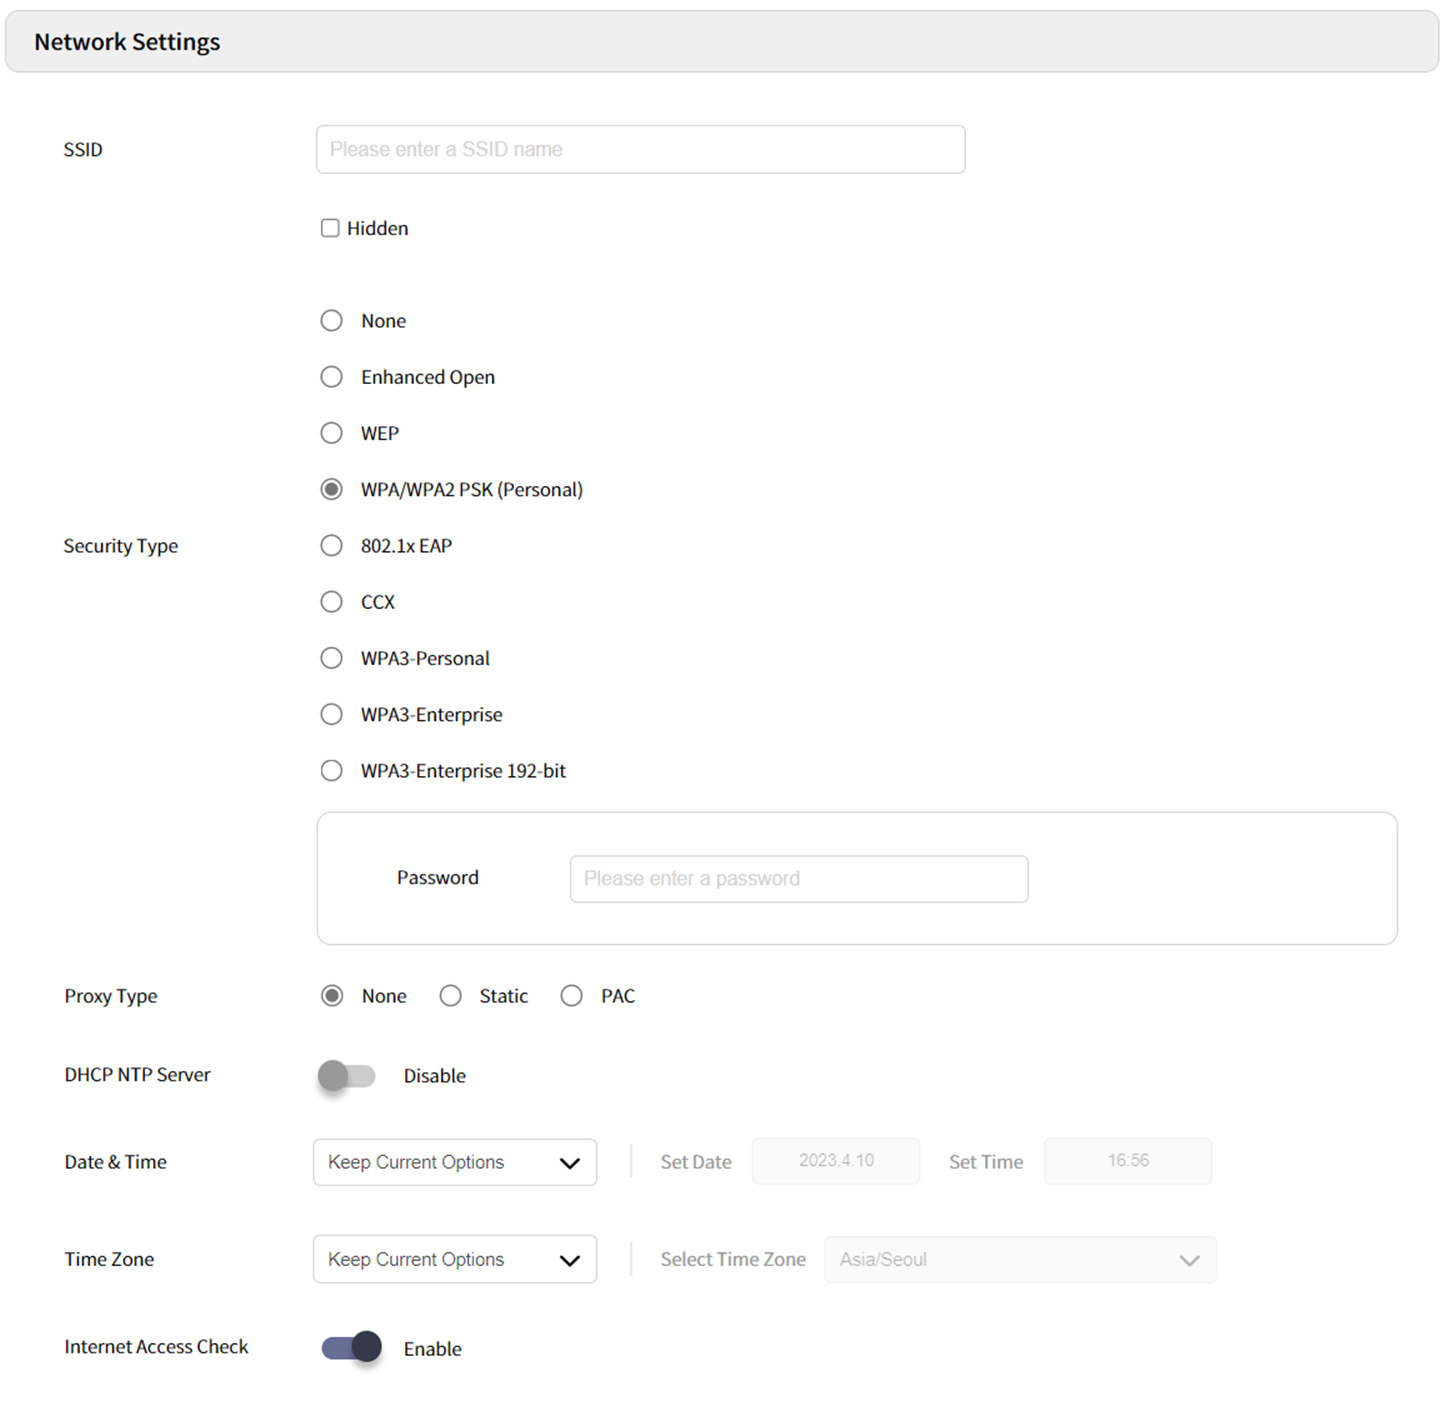
Wi-Fi information (SSID, Password, Security Type, etc.) to be used for provisioning process.
Optional: If your device already connected proper Wi-Fi, no need to input.
EmInstaller Settings (Partially Required)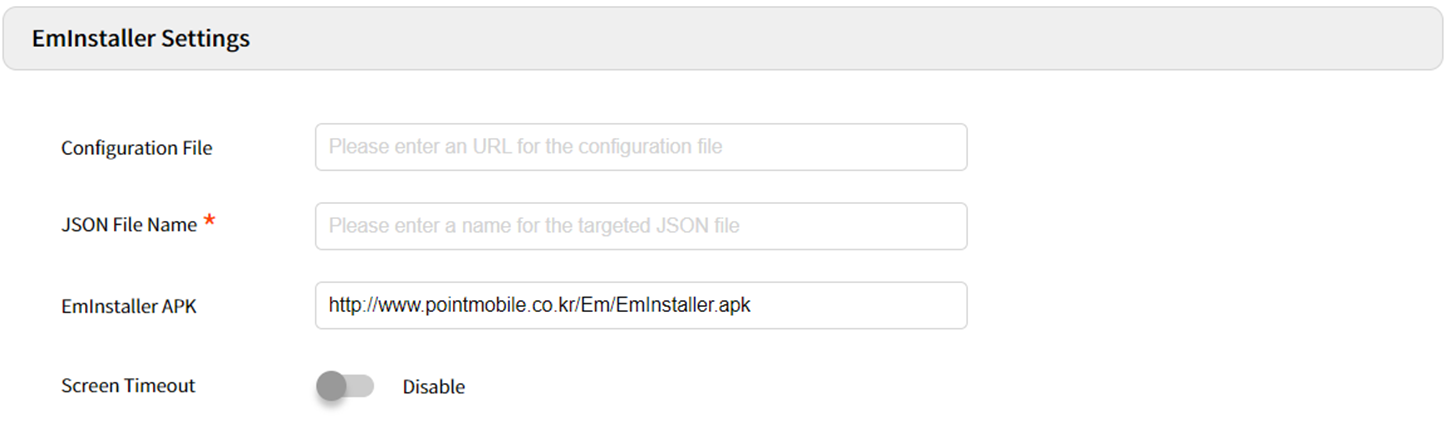
Configuration File
(Optional) If you uploaded Zip file which contains apk or app data file on step 1, input its URL here.
JSON File Name
(Required) Input URL of JSON file you uploaded on step 1.
EmInstaller APK
(Optional) If you uploaded PMDMAgent (EmInstaller) apk file on step 1, input its URL here.
PMDMAgent (EmInstaller) will be installed or updated with this information.
Screen timeout Check this option to turn on the screen all the time during provisioning process. Input Direct Download Link
When inputting URLs in EmInstaller Setup section, you must input the direct download link. Refer to Direct Download Link.
QR Code Settings (Optional)
Turn on the switch (Enable) if you want to provision devices with the same profile after factory reset.
Refer to Using Automatic Provisioning for more detail.
Optional: If you want to provision devices only once, skip this setting.
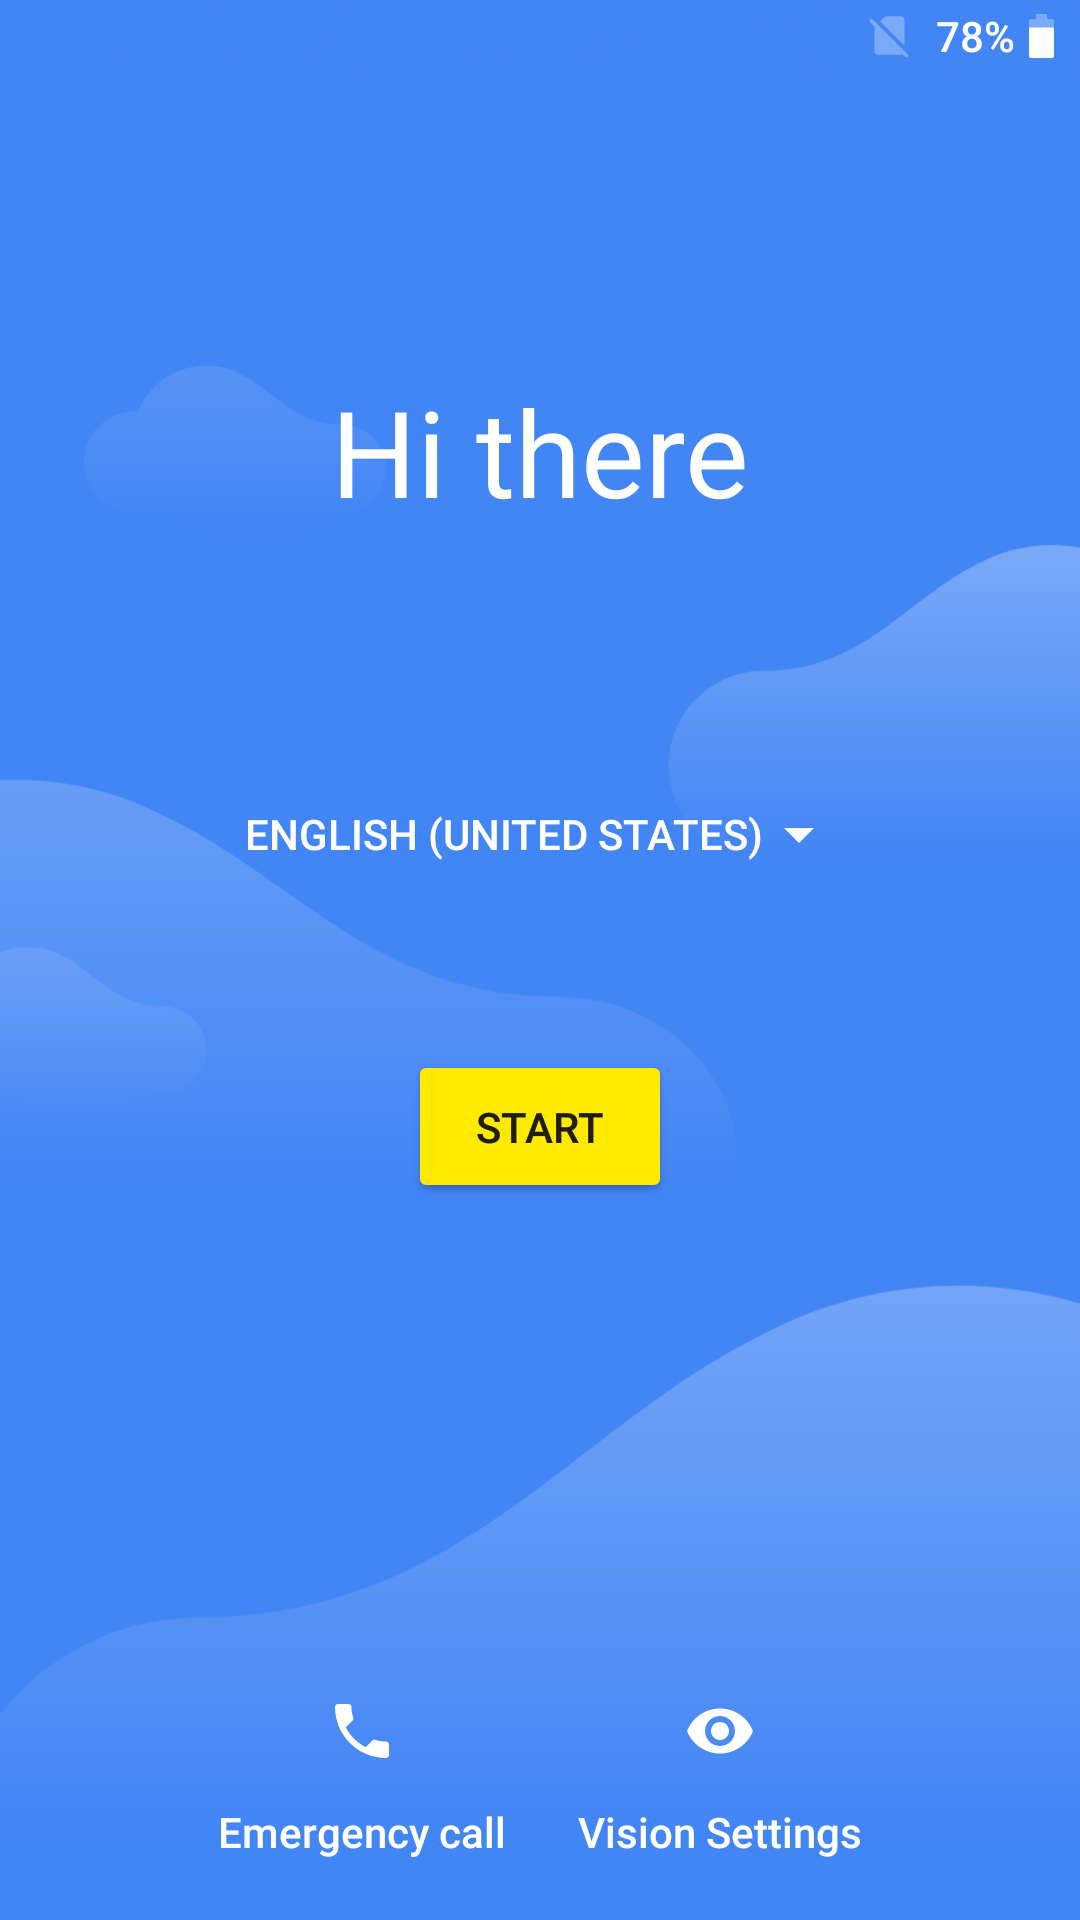
4. Scan the QRCode
- Scan the QR code
- (On the setup wizard) Press the scan button after the
 icon is displayed on the status bar
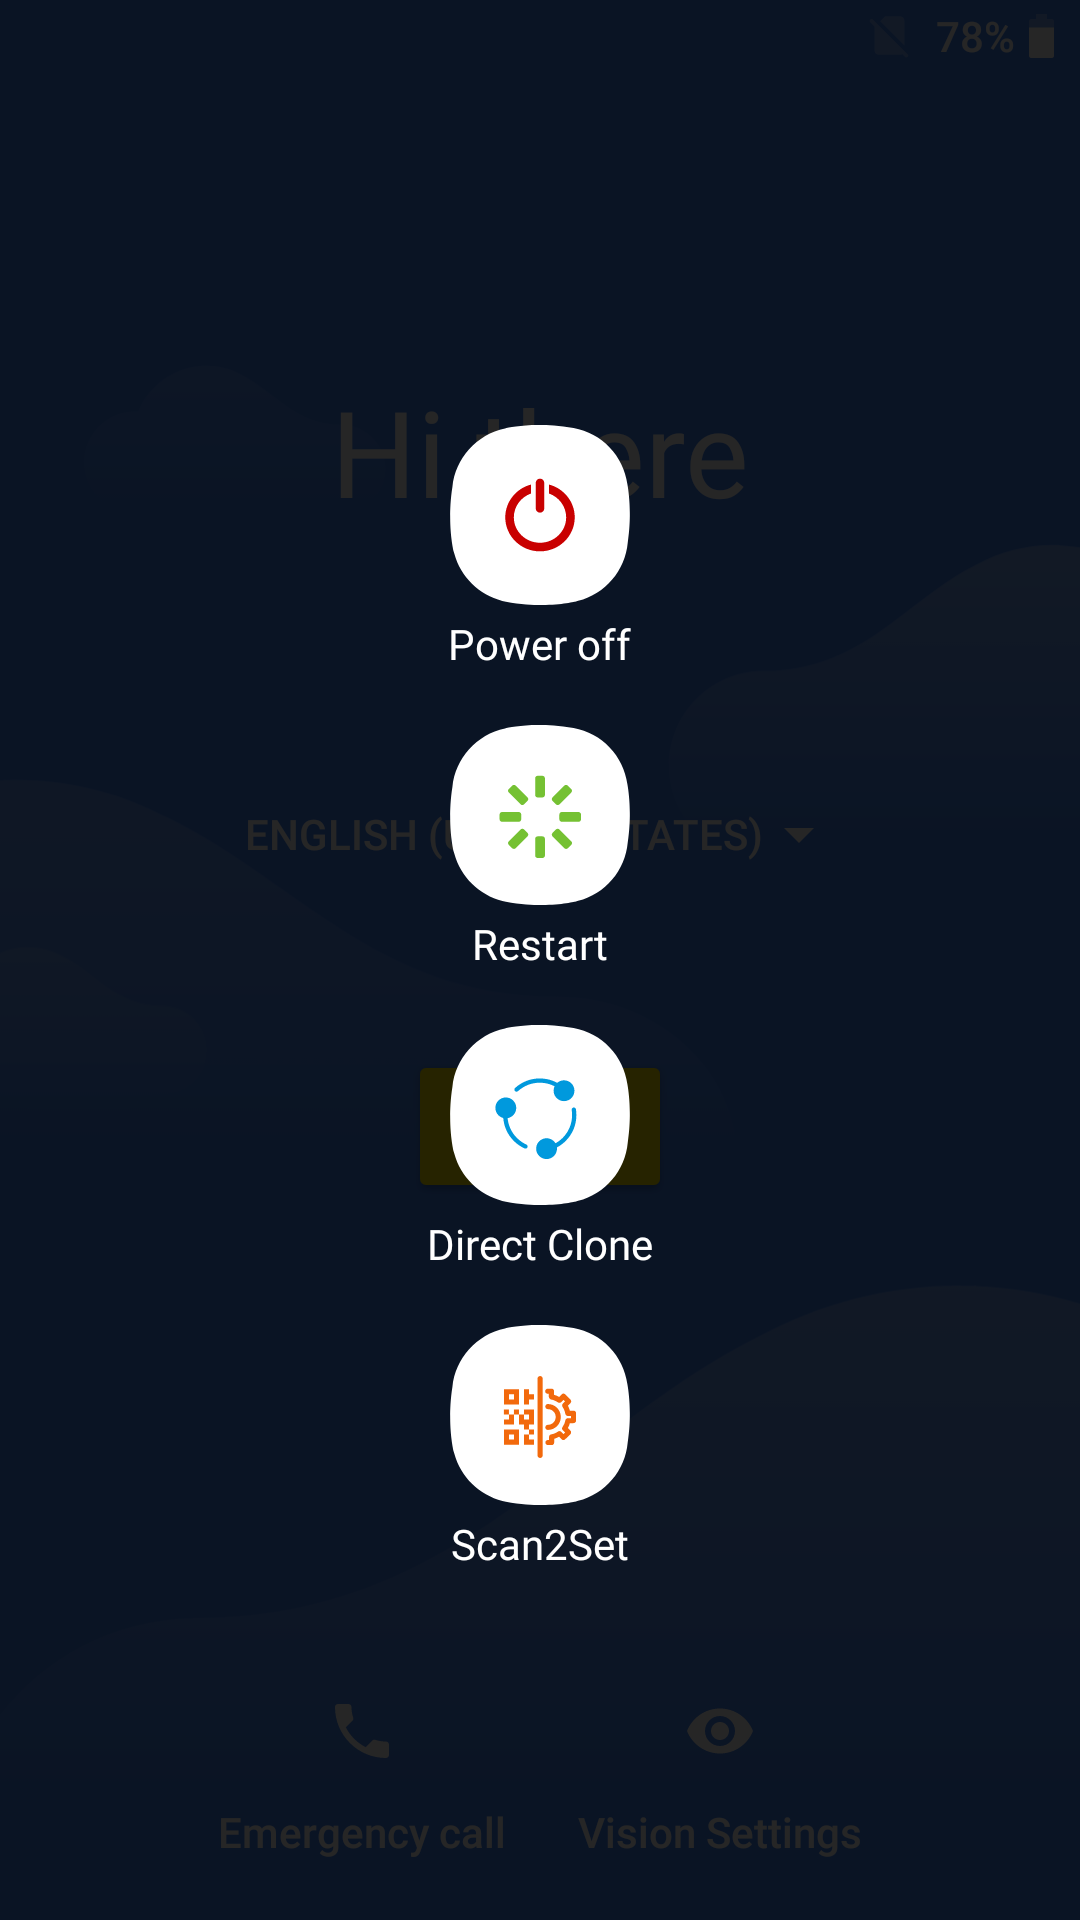
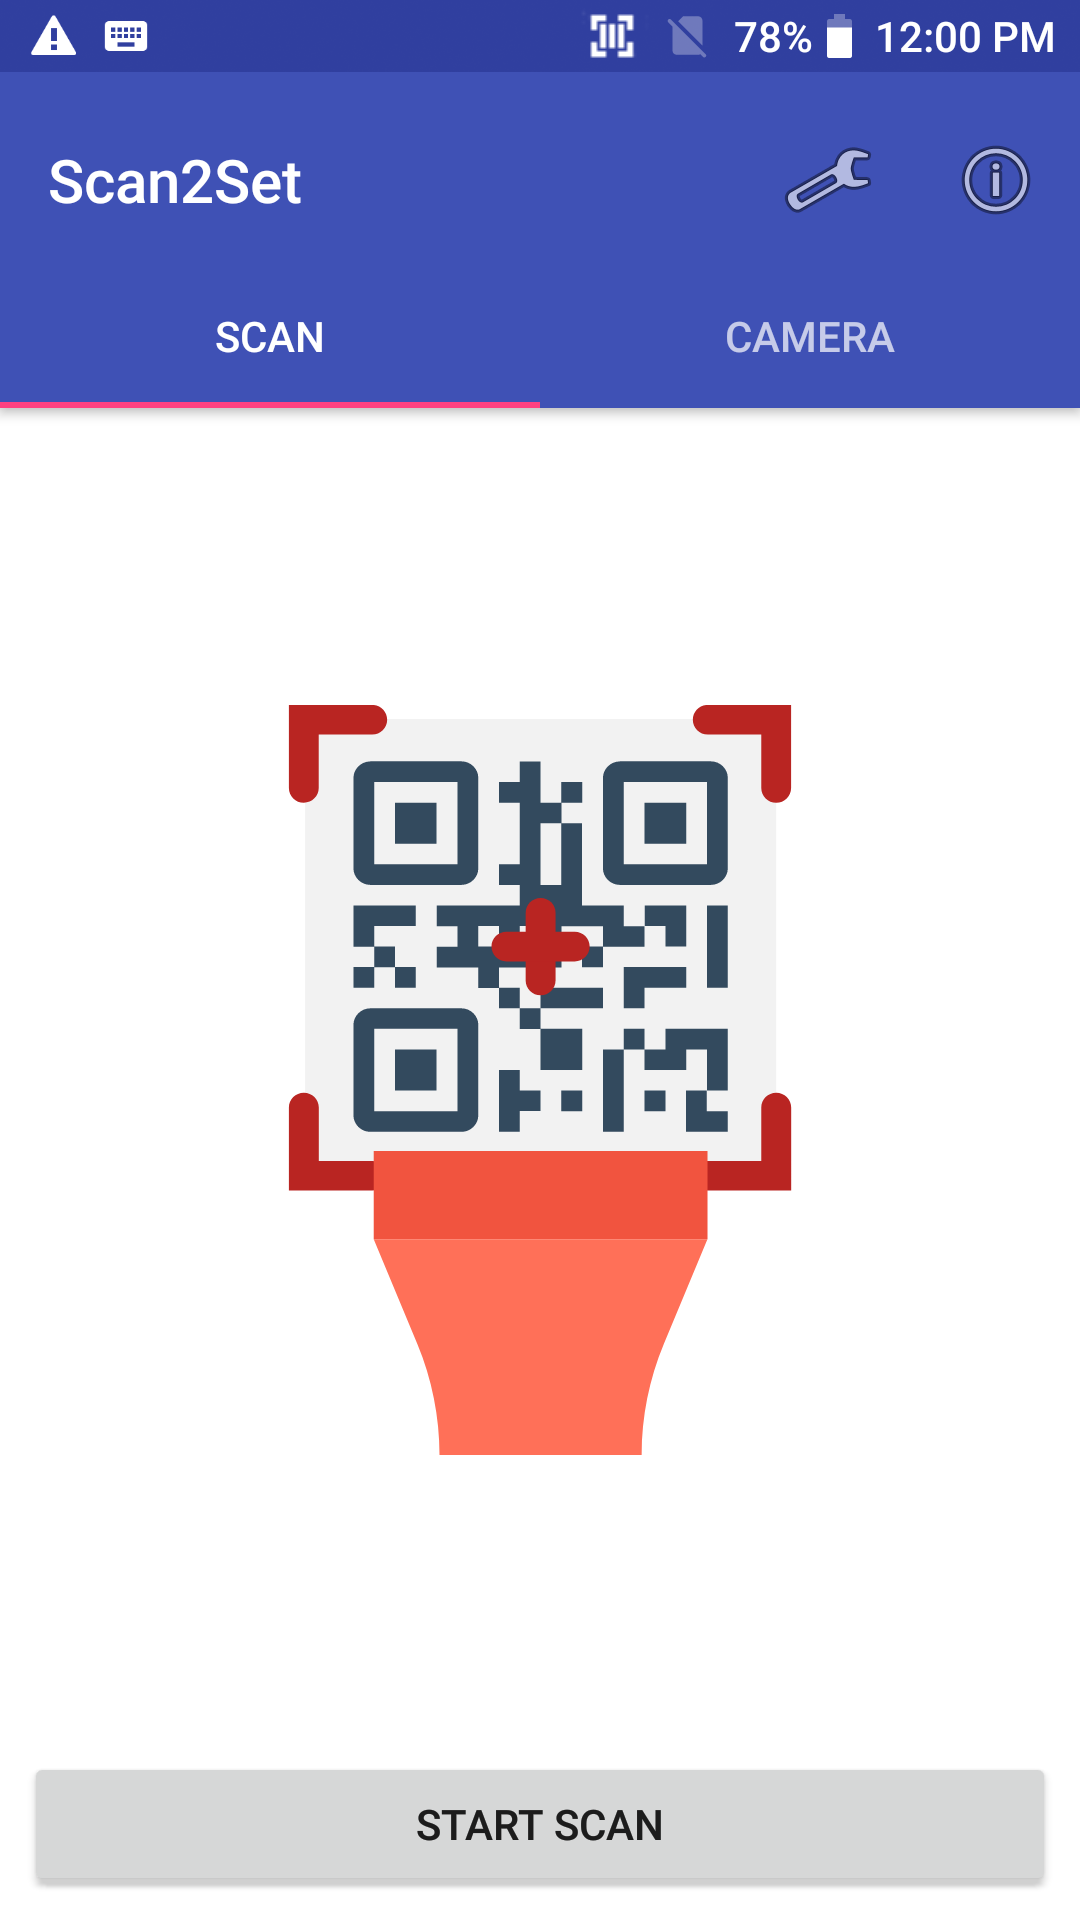
(On the home screen) Launch EmKit > Scan2Set and scan
If the system is locked with FRP (Factory Reset Protection), the provisioning cannot be performed.